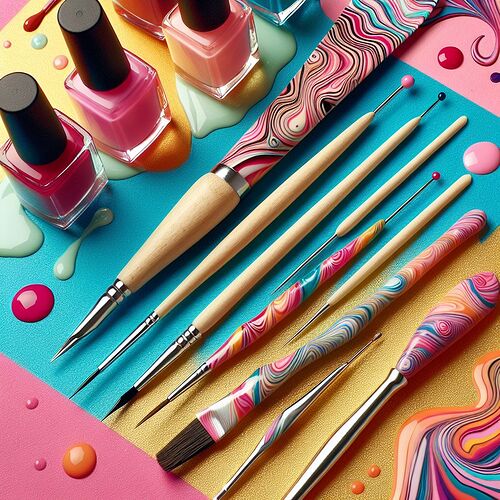
Are you a nail art enthusiast but don't have all the fancy tools? Don't worry, you can still create stunning nail designs with items you already have at home! In this article, we will show you 10 DIY nail art tools that you can easily make yourself.
1. Toothpick Dotting Tool
Don't have a dotting tool? No problem! Simply grab a toothpick and dip the tip into your desired nail polish color. Use the toothpick to create perfect dots on your nails. You can vary the size of the dots by applying different amounts of pressure.
For example, you can create a cute polka dot design by using a toothpick to make small dots all over your nails. Or, you can create a fun and trendy dotticure by making larger dots in a pattern.
2. Makeup Sponge Gradient Tool
If you want to achieve a gradient effect on your nails, but don't have a sponge applicator, you can use a makeup sponge instead. Cut a small piece of the sponge and apply different nail polish colors to it. Dab the sponge onto your nails in a rolling motion to create a beautiful gradient.
For instance, you can create a stunning sunset gradient by using a makeup sponge to blend orange, pink, and yellow nail polish colors on your nails.
3. Striping Brush
A striping brush is perfect for creating intricate nail designs, but if you don't have one, you can easily make your own. Take an old, thin paintbrush and trim the bristles to create a fine tip. Dip the brush into your desired nail polish color and use it to draw lines, stripes, or any other detailed designs on your nails.
For example, you can create a trendy striped nail design by using a homemade striping brush to paint thin lines of different colors on your nails.
4. Bobby Pin Nail Stamper
If you want to try stamping nail art but don't have a stamping tool, a bobby pin can come to your rescue. Take a bobby pin and bend the closed end into a small loop. Apply nail polish to a flat surface and dip the looped end of the bobby pin into the polish. Then, stamp the design onto your nails.
For instance, you can create cute heart-shaped stamps on your nails by using a bobby pin as a nail stamper.
5. Pencil Dotting Tool
A pencil can be transformed into a dotting tool with just a few simple steps. Take a pencil and eraser out the lead. Use a pin or a needle to create a small hole in the eraser. Dip the eraser into your desired nail polish color and use it to make dots on your nails.
For example, you can create a whimsical polka dot design by using a pencil dotting tool to make dots of different sizes on your nails.
6. Tape Nail Art
If you want to create clean and precise lines on your nails, you can use tape as a nail art tool. Cut small pieces of tape and place them on your nails to create different shapes or patterns. Apply nail polish over the tape and peel it off to reveal perfectly straight lines.
For instance, you can create a geometric nail design by using tape to create triangular shapes on your nails and then painting over them with different colors.
7. Toothbrush Splatter Tool
If you want to achieve a splatter effect on your nails, you can use an old toothbrush as a splatter tool. Dip the bristles of the toothbrush into your desired nail polish color and run your finger across the bristles to create a splatter effect on your nails.
For example, you can create a galaxy-inspired nail design by using a toothbrush splatter tool to create splatters of different colors on a black base.
8. Fan Brush Ombré Tool
If you want to create an ombré effect on your nails, a fan brush can be a great tool. Apply different nail polish colors to the bristles of the fan brush and gently swipe it across your nails to create a beautiful gradient.
For instance, you can create a stunning mermaid ombré by using a fan brush to blend shades of blue and green on your nails.
9. Q-tip Cleanup Tool
When doing nail art, it's common to make mistakes or have excess polish on your skin. A Q-tip can be a handy tool for cleaning up those mistakes. Dip the Q-tip in nail polish remover and gently clean up any smudges or polish on your skin.
For example, if you accidentally get nail polish on your cuticles, you can use a Q-tip cleanup tool to remove the excess polish and create a clean, professional-looking manicure.
10. Glitter Sponge Applicator
If you want to add some sparkle to your nails, but don't have a glitter applicator, you can use a sponge instead. Apply a thin layer of clear nail polish to your nails and then dab a sponge into your desired glitter. Gently press the sponge onto your nails to transfer the glitter.
For instance, you can create a glamorous glitter gradient by using a sponge applicator to apply different shades of glitter onto your nails.
Now that you know how to make your own DIY nail art tools, you can get creative and experiment with different designs. Don't let the lack of professional tools hold you back from achieving beautiful nail art!
Did I miss anything? Add your comments below!
